
Eye Editing
In many ancient cultures around the world, and even still today in some places, people believed the eyes possessed a spiritual power—of good and evil, protection or destruction. And let’s not forget the adage, “The eyes are the window to the soul.”
Indeed, some of the world’s most famous photos center around a person’s eyes. Almost everyone is familiar with the photograph, Afghan Girl, from 1984, for example.
If you’re looking to make your subjects stand out, you need to learn some stellar eye editing techniques. Read on for our top tips.
1. Remove Red Eye
When it comes to photo editing, probably the most critical skill for any editor to master is fixing red eyes.
Red eyes occur when a camera flash illuminates a person’s retina. They often occur in party or club photos because people’s iris’ open wider in the dark, exposing more of the retina. The same goes for that terrifying glare you sometimes capture in the eyes of your beloved pet, too!
You can use the Eye tool in most programs to manage this problem.
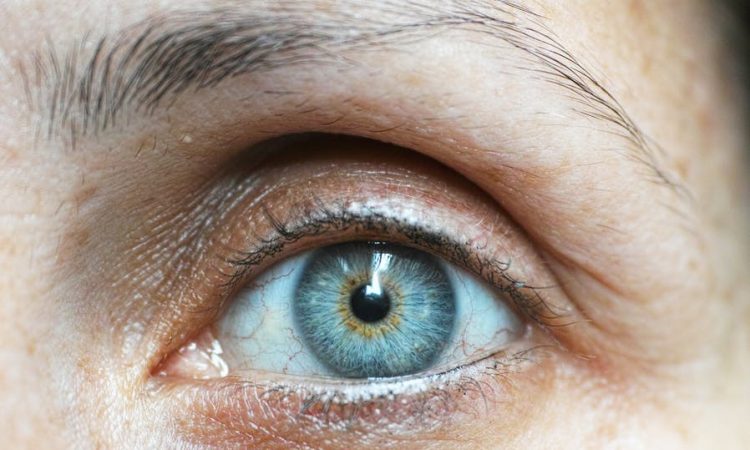
2. Increase the Lights and Shadows
If you’re looking to create a high-quality image where the eyes are a focus, play around with increasing the lights and decreasing the shadows. This will boost the catchlights, giving the appearance of clearer eyes.
Don’t go so far as to make background transparent, though!
3. Fix Closed Eyes
You’d be surprised how often people close their eyes in photos—especially group shots.
And in eye photography editing, Photoshop is still the go-to tool for “opening” closed eyes. In fact, there’s a function made explicitly for this purpose! It’s worth spending the time to master this tool.
Keep it in the back of your mind that Facebook might be on the road to saving you the trouble. In 2018, there were reports they were developing a closed-eye selfie AI!
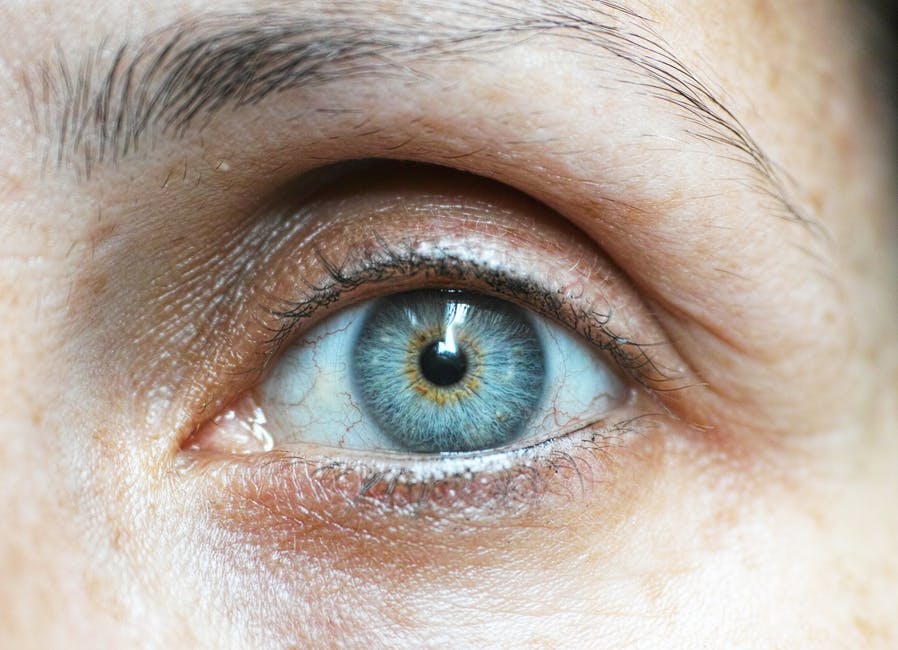
4. Adjust the Color
In the image file, don’t be afraid to use the RGB curves to alter the color of your subject’s eyes.
Play around a bit, moving the curves until you get the true-to-life (or truer-than-life) iris colors you’re after. Just try to stay in the middle of the curves to ensure you keep the shadows and highlights stable.
5. Photograph the Eyes Right
If you’re taking the photo and editing it, try to ensure the photograph you take emphasizes the eyes. For example, have your subject look upwards and face the light source slightly or use a reflector tool to bring light into their eyes.
Effective Eye Editing for Photographers and Photo Editors
Eyes are one of the trickiest parts of a person’s face to get right in the editing stage. Expert eye editing takes time, patience, and skill. If you’re a photographer, you also need to pay attention to the photographing stage to ensure you capture a person’s eyes in the best possible way to optimize editing.
For more photography tips and tricks, browse the other insightful articles and helpful tutorials on our website.

